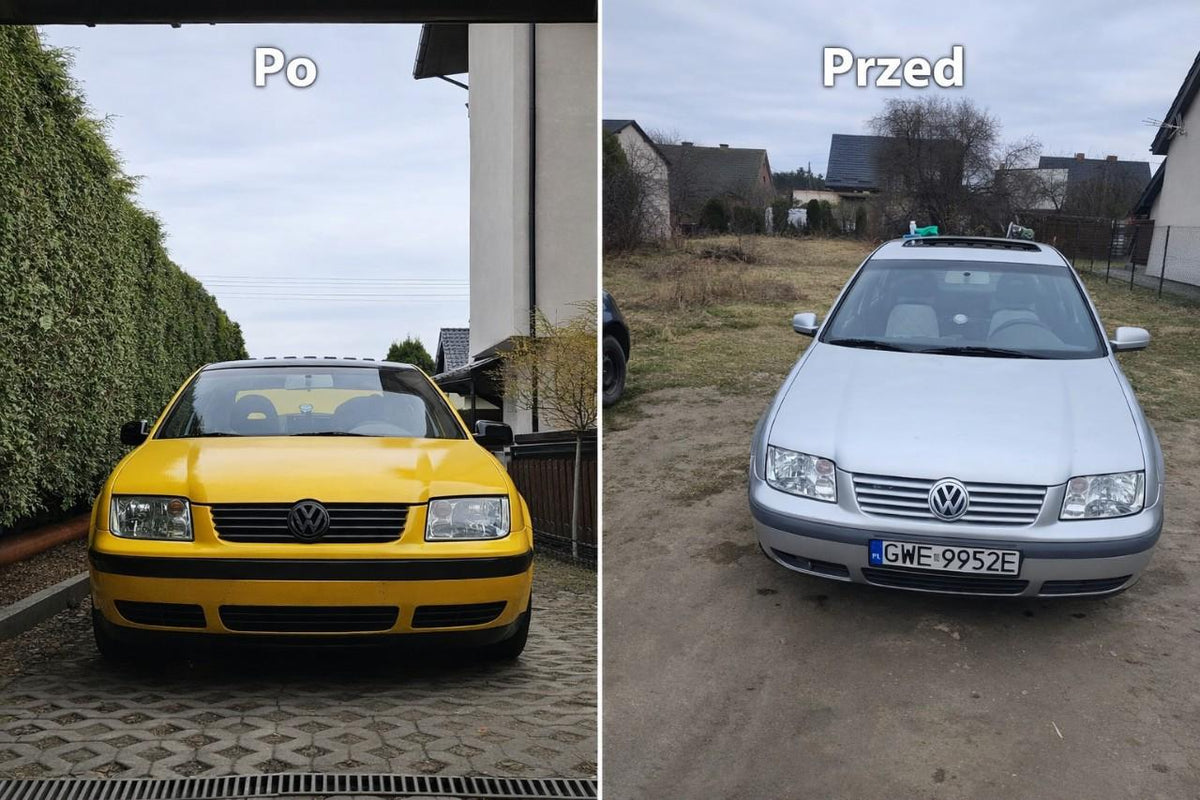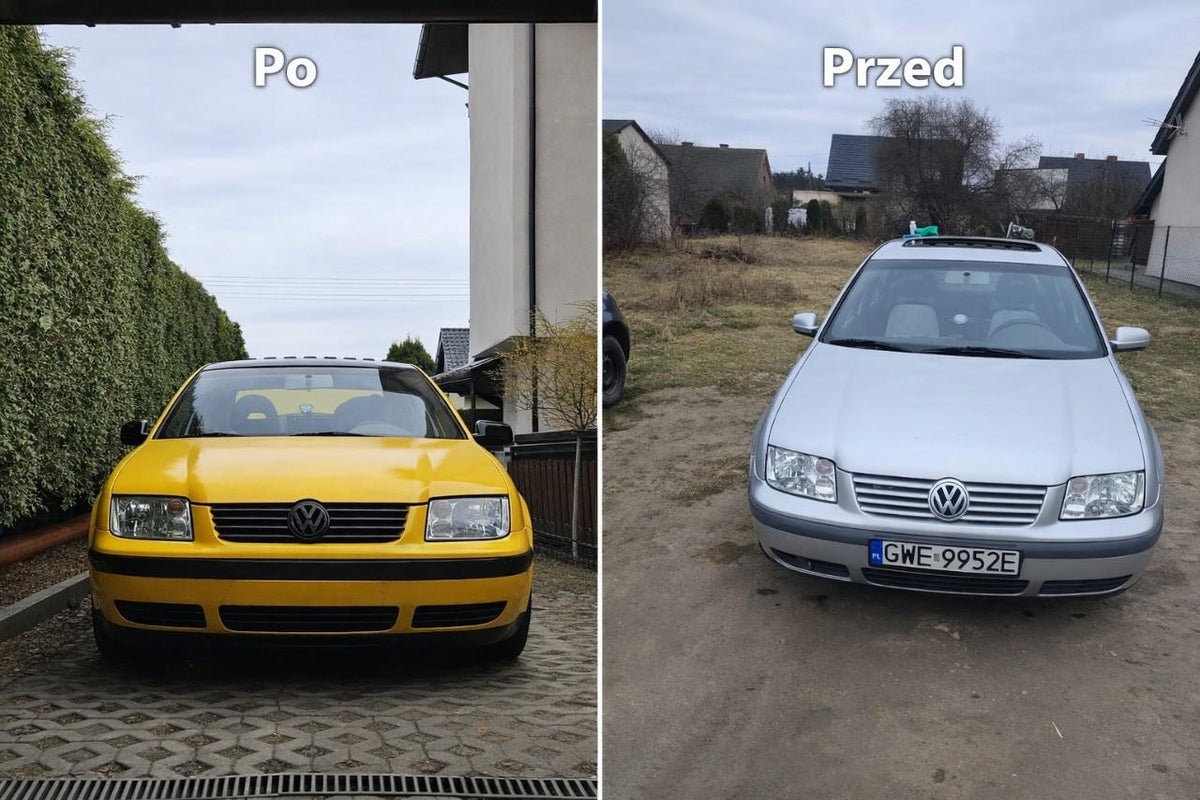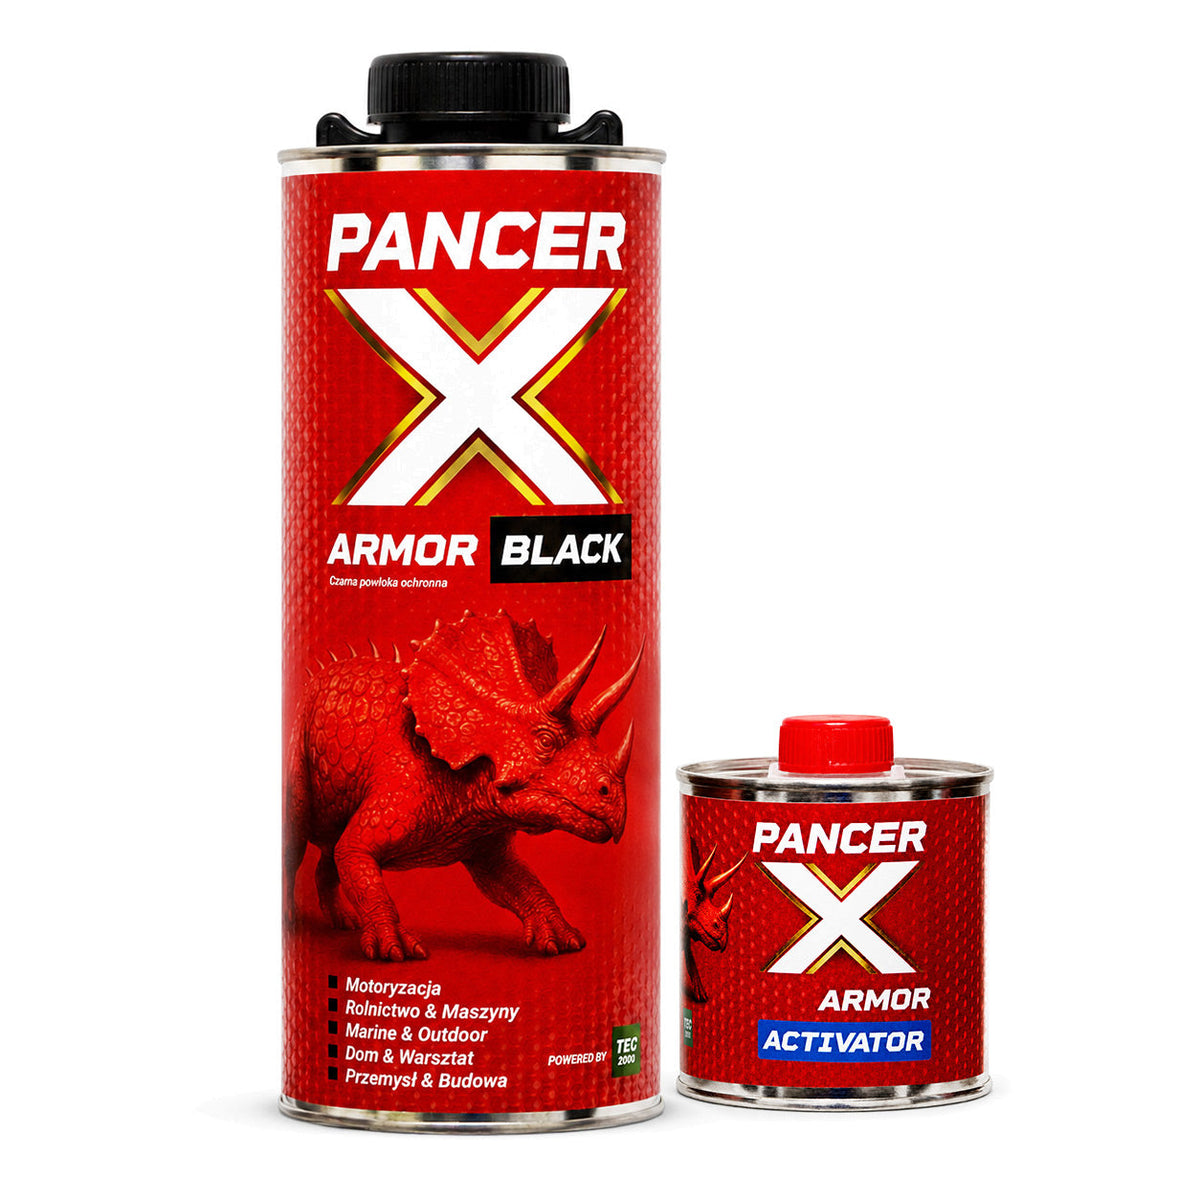
Two cans and a chemical reaction
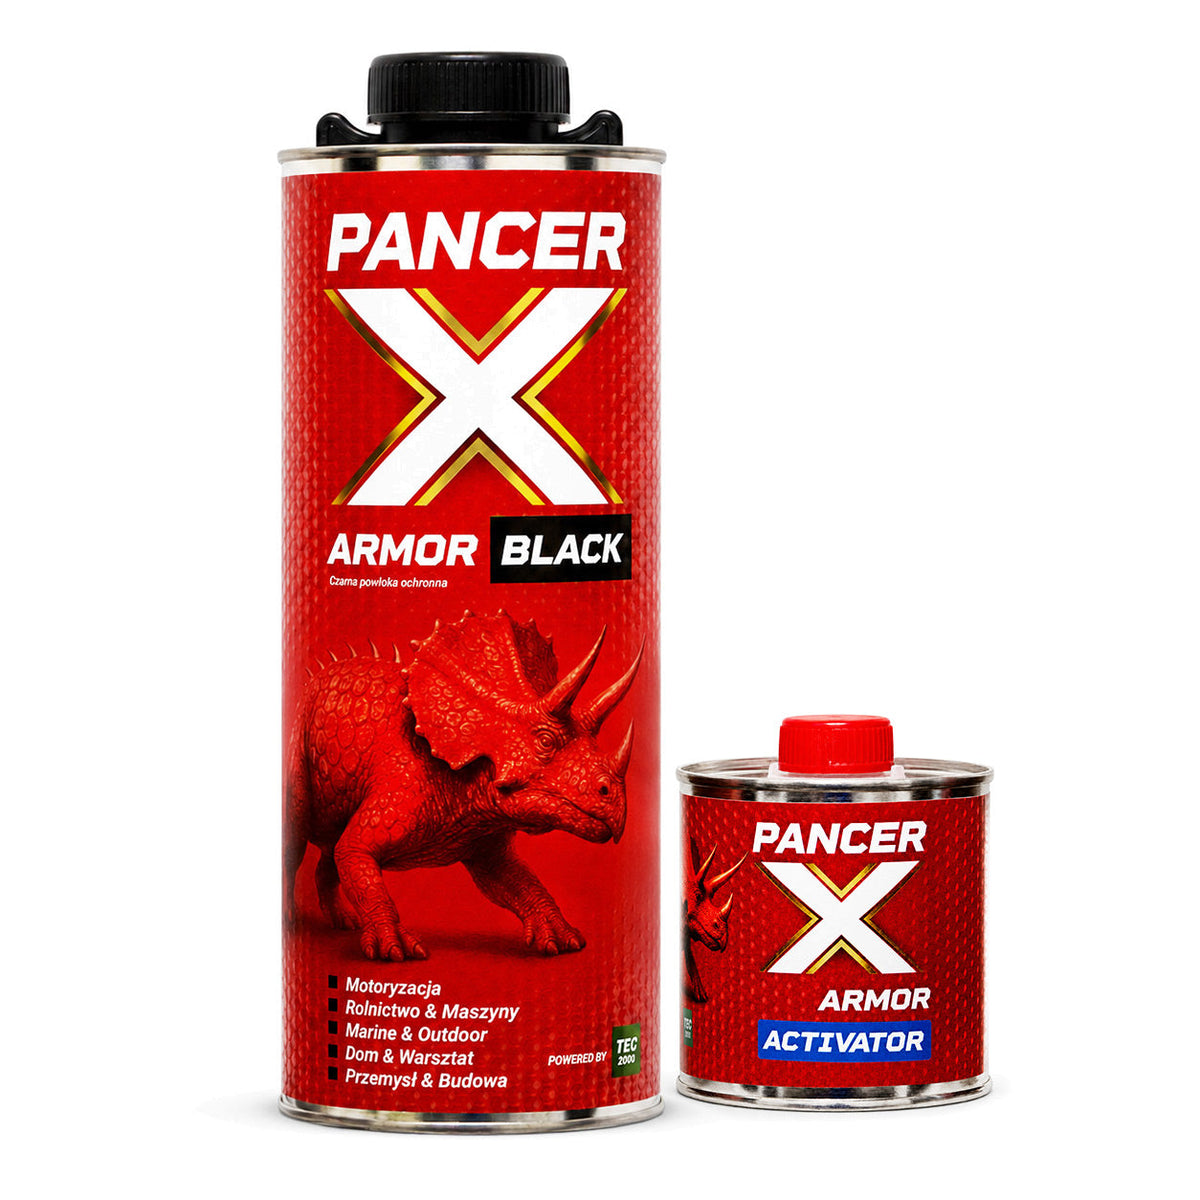
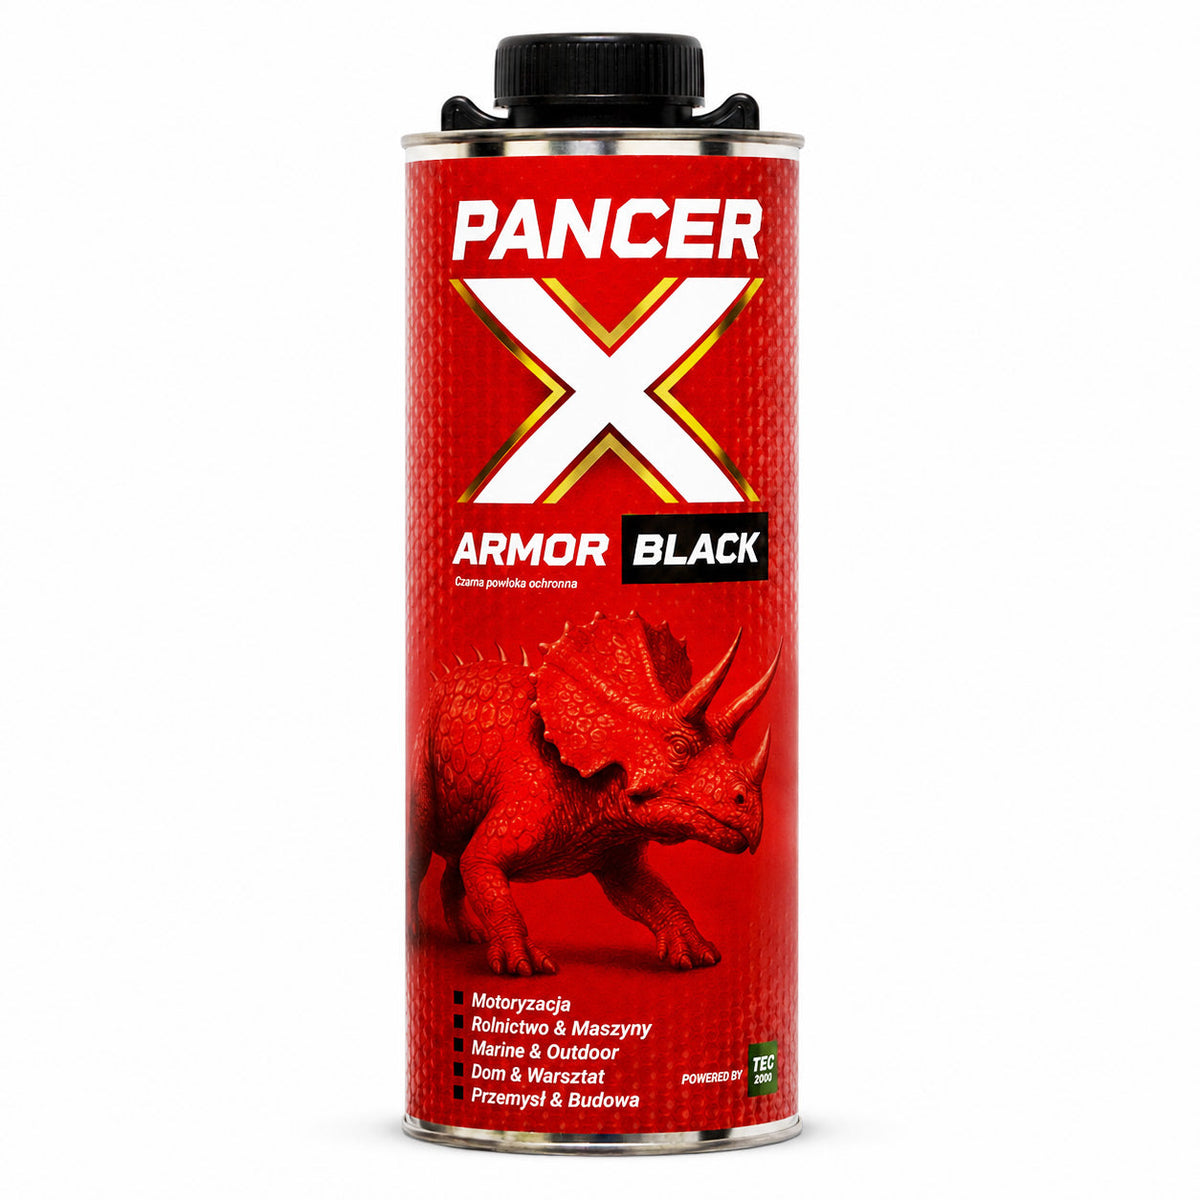
ARMOR is a two-component coating. The kit holds 600 ml of base and 200 ml of ACTIVATOR in a separate can. As long as both cans sit closed on the shelf, nothing happens. Mix them and a chemical reaction starts, and from that moment the clock matters. You will not find that sentence in any of the roller-painting guides, because their authors are writing about spray-can paint.
The paint also cures inside a closed can, with no air, because curing here is not solvent evaporation but a reaction between base and activator. There is no such thing as "I will put the lid back on and finish tomorrow". Mixed stays mixed.
ARMOR is not a basecoat and not a primer, and it does not go on bare metal. Do not apply it over single-component 1K products, on an engine or on an exhaust system. You can overcoat it with acrylic paints, because it contains no asphalt or bitumen, which is not the norm among textured underbody products.

Before you open the can: temperature, humidity, dry panel
The technical data sheet gives an application window: from +10 to +30 degrees C, and it means the temperature of the substrate, not only of the air. In an unheated garage in March that distinction costs you. The thermometer on the wall reads +12, while a panel that spent the night above a concrete floor is colder. Sheet metal warms up more slowly than air. If you roll the car in from the cold, give it a few hours.
Relative humidity should stay below 80 percent. You cannot check that without a hygrometer, and the day after rain, in a closed garage with no ventilation, it is often well past that limit.
While we are on dates: the base has a 24 month shelf life, the ACTIVATOR 18 months, counted at 20 degrees C. If the kit sat in your unheated shed for a year, check the date on the packaging before the job, not after.
Isocyanates in the activator, or why the mask matters
The ACTIVATOR contains isocyanates: hexamethylene-1,6-diisocyanate homopolymer at 20-40 percent and HDI monomer below 0.3 percent. That last figure looks harmless until you put it next to the exposure limit. The maximum permissible concentration of hexamethylene diisocyanate in air is 0.04 mg/m3, with a short-term value of 0.08 mg/m3. For xylene, the main solvent in the base, the same values are 100 and 200 mg/m3. The difference runs into the thousands.
For roller or brush work you need a mask with a type A organic vapour filter to EN 14387, nitrile or Viton gloves to EN ISO 374 and sealed goggles to EN 166. For spraying the filter has to be A2-P2, because the aerosol carries isocyanates in a form you breathe in with no smell to warn you. Isocyanates sensitise, and once you are sensitised it stays with you. With ARMOR COLOR the mask comes back into play much later: the safety data sheet advises against dry sanding and dry machining of the cured coating, because the dust contains titanium dioxide. If you touch up an edge after a season, do it wet.
Then there is the obvious thing people forget in a garage with a cigarette going: the base has a flash point below 21 degrees C. The vapours are heavier than air and settle near the floor. A gas heater with an open flame in the same room is out, and you arrange ventilation at floor level, not at the ceiling.
Substrate prep: paper, degreaser, 2K primer
This is where the final result is decided. The grades from the technical data sheet look like this:
| Substrate | Grade | After sanding |
|---|---|---|
| Steel panel | P120-P180 | Blow off, degrease, apply 2K primer |
| Old coatings | P180-P240 | Blow off, degrease |
| Primer | P240-P320 | Blow off, degrease |
| Polyester fillers | P240-P320 dry | Degrease |
| Plastics | Scuff with abrasive pad | Degrease, adhesion promoter |
Rust gets removed completely. You do not paint over it and you do not count on the coating to stop it. Any rusty film left underneath keeps working and after a season lifts the coating into a blister.
ARMOR does not go on bare metal. You need an epoxy or acrylic 2K primer, or an existing, sound 2K coating. On plastics an adhesion promoter is added, and without it a bumper will release the coating at the first serious stone strike. The same rule applies away from cars, because ARMOR also goes on trailers, pickup beds, gates and stairs: metal underneath gets primed, plastic gets a promoter.
The degreaser. There is advice going around online to use acetone thinned with water. Do not. Acetone with water on plastic can dull the surface beyond repair, and the water stays in the pores and ruins adhesion. Buy a proper degreasing cleaner made for substrates under paint and wipe in one direction with two cloths: one applies, the other picks it up before it flashes off. The cloths have to be clean, because a workshop rag someone wiped their hands on will leave silicone on the panel. Silicone shows up later in the coating as small craters, and you cannot sand them out, because they sit through the full depth of the layer.
The 3:1 ratio and the hour that starts running
Three parts base to one part ACTIVATOR, by volume. The 600 ml plus 200 ml kit is put together so that pouring in the whole lot gives you the ratio automatically. The trouble starts when you want to mix half a kit because you are painting one wing. Then you need a graduated mixing cup, not your eye.
After mixing you have about an hour at 20 degrees C. The mix thickens: the roller starts to drag, the surface stops flowing out and keeps the marks. The tail end of that hour is only fit for the bin, so size your batch to be done with it earlier.
With ARMOR COLOR there is pigment on top of that: 10-15 percent calculated on the base, 15 at most. Pigment into the base first, mix to an even colour, and only then the ACTIVATOR at 3:1. The other way round does not work, because the activator is already reacting while you are still mixing the colour. Going over 15 percent pigment may reduce the durability of the coating.

The roller: why flocked and not foam
The data sheet allows roller, brush and spray. It does not say which roller, and that is where the problem starts, because online you will find both answers. One site warns against foam rollers, another recommends them, and both are copying each other.
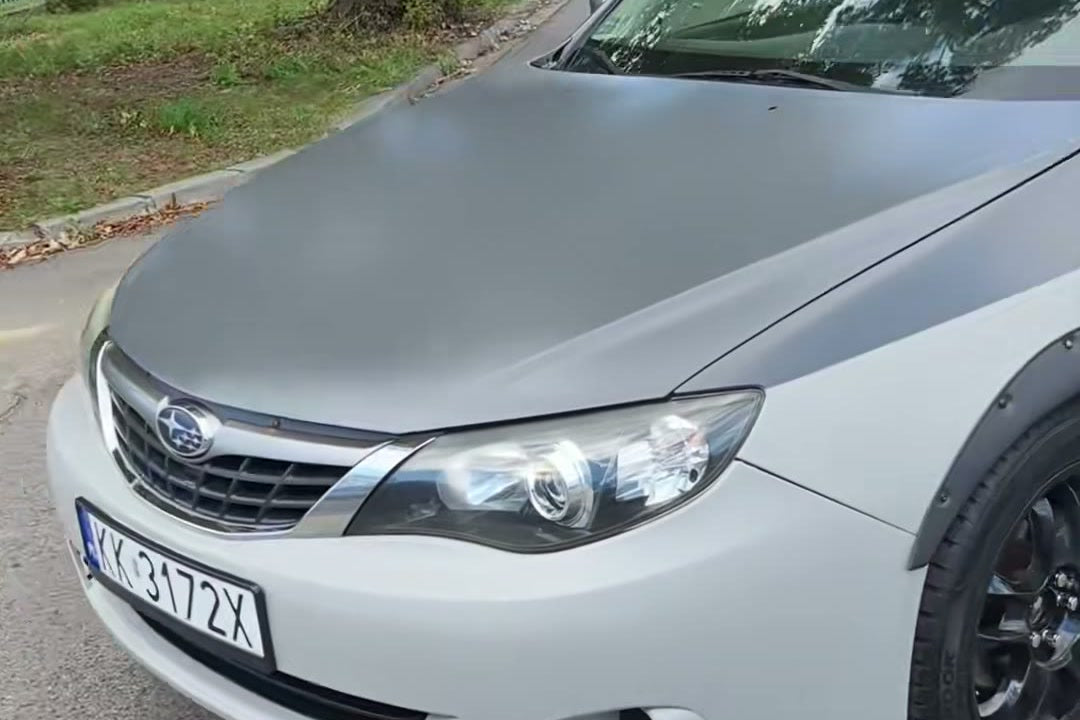
A customer who painted a Subaru Impreza summed it up in one sentence:
A flocked roller instead of a foam one is the difference between a smooth surface and orange peel.
Foam has pores, the pores pick up air, and as the material is laid down they leave small craters and streaks. Flock, meaning short fibre bonded to a core, releases the material evenly and closes the surface. With a textured coating, which is meant to give a texture anyway, that difference shows up instantly in a close-up photo.
The roller should also be narrow, so that it fits the edges and does not force you to run back over the same spot. You lay the material down and leave it. Going back with the roller over an area that has already started to set is the main way to end up with orange peel where you wanted smooth.
Orange peel has a simple mechanical cause, and it ties together two pieces of advice from earlier in this guide: the roller technique and the temperature and humidity window. A wet coating levels itself because surface tension pulls material off the high spots and into the low ones, the same way water in a glass finds its own flat line. As solvent evaporates the mixture thickens, and thicker liquid resists that flow, until at some point the coating simply freezes in whatever shape it holds at that moment. Then the race is over. A team at the University of Toronto studying drying paint films described the same contest between evaporation and surface tension, though their work covered conventional solvent paints, not a two-part reactive coating like this one. Push evaporation too fast, whether with a hot dry garage or a roller dragged back over a spot that has already started to set, and the coating loses that race before it has had time to flatten. Once that happens, only sanding brings it back down flat.

To thin or not to thin
The data sheet gives a range of 0-30 percent, depending on the texture you want. For spraying that makes sense: a coarse texture goes on unthinned through a 4 mm nozzle at 2-4 bar, medium with up to 5 percent added through a 2.5 mm nozzle, fine needs 25-30 percent and a 1.4-1.8 mm nozzle.
With a roller you start at zero. Unthinned material gives a more pronounced texture and covers edges better. If after the first test piece you decide it drags too much, add a few percent and make another test piece. Thinner goes into the base, before the activator, not into the finished mix. Clean your tools with acrylic thinner right after you finish, because cured material never comes off a roller.
Panel by panel
Theoretical coverage is about 4.5 m2 per litre at a dry film of 100 micrometres. A 600 plus 200 ml kit gives 0.8 litres of ready mix, so about 3.6 m2 per coat. The data sheet does not state coverage per kit, this is plain multiplication, but it shows the scale: one kit will not do a whole car. With a coarse texture, where the layer is 200-250 micrometres, coverage drops to 2-2.5 m2 per litre, and with a fine one it rises to 6.
Put those numbers next to the one hour pot life and one sensible way of working is left: panel by panel. You mix a batch for one part, do the part, mix the next. A roller only makes sense if you can finish a panel in half an hour. If you cannot keep up with that, the batch was too big or the panel too difficult, and next time you cut the quantity.
Start where a mistake will show the least: sills, the bottoms of doors, wheel arches, the inside of the boot. Move on to the bonnet and the tailgate once your hand is in, because horizontal surfaces are merciless about unevenness. Light from the side, at an angle, shows everything on a bonnet that overhead light hides, and the same lamp is worth having to hand while sanding.
How many coats and how long between them
Two to three thin coats. The gap between coats is 30-60 minutes. Three thin coats give a better result than two thick ones, because a thick layer sags on vertical surfaces and gathers into runs along the lower edges.
The advice circulating online about an hour of drying between coats happens to land on the upper end of that range, but it is given with no lower limit and no explanation. If you wait much longer than an hour, the layers stop bonding to each other and you start putting a coating on top of a coating instead of building one.
The data sheet then gives two times, and they are two different things. Touch dry after 1-2 hours means you will not leave a fingerprint. Full resistance comes after 5-7 days at 20 degrees C, and only then is the coating what it is meant to be. The articles you find in search results carry a single figure, called "drying".
If you plan to put acrylic paint over the top, the window is short: a minimum of three hours after ARMOR goes on, and after 24 hours the coating has to be scuffed before painting. People forget this and come back to the car a week later with paint in hand.
Make a test piece before you touch the car
One hands-on account posted on the Polish forum Nissan Klub Polska describes making a dozen or so test pieces before starting, and no disappointment with the final result afterwards.
You make the test piece on a scrap of sheet metal or an old part, prepared exactly like the car: the same paper, the same primer. On it you check whether the texture from that particular roller suits you, whether the thinning is right and how much material really goes into a square metre. With ARMOR COLOR there is also the colour once dry, because a wet coating looks different from a cured one.
A note on light and saturated colours: for yellow, red, orange and green the primer should be white or light grey, and the substrate colour uniform across the whole surface. Filler showing through the primer will shift the shade in that one spot.

The first week after painting
The coating needs 5-7 days to reach full resistance and it is still maturing during that time. Skip the pressure washer, wax, polishing and sticking anything to the surface. If the car is parked outside, cover it so that the tarpaulin does not lie on the surface, because a curing coating will take on the texture of the fabric.
Mistakes people regret later
- Mixing the whole kit at once to paint a single part. The hour passes, the rest of the material hardens in the cup.
- A foam roller. Streaks and craters that no further coat will smooth out.
- Painting on bare metal with no 2K primer. The coating holds worse than it should, and every chip opens a route for corrosion.
- Acetone with water as a degreaser. It dulls plastic and leaves water where water has no business being.
- One thick coat instead of two or three thin ones. Runs on vertical surfaces and a longer cure.
- Painting in a cold garage because the thermometer on the wall showed +12. What counts is the temperature of the panel.
- A pressure washer sooner than 5-7 days after painting. Full resistance has not arrived yet.
The last mistake is not about application at all: working with no mask. The base and the activator are designated for professional use not because they need skill, but because they need respiratory protection. The volatile organic compound content in the ready to use product is about 530 g/l against a permitted limit of 840 g/l for this category. A garage door left ajar does not exchange the air, so you need a through draught or a fan at floor level, because that is where the vapours collect.
That 840 g/l ceiling is not arbitrary. It sits inside a specific EU category for vehicle refinishing products, IIB(e), officially labelled special finishes: coatings built for texture, metallic and pearl effects, anti-chip protection and underbody sealing. A plain topcoat lives in a different category, with a limit of 420 g/l, exactly half. ARMOR is not squeaking under a generic ceiling. It sits in the category built for what it actually is, a structured coating, not a lacquer. Run the 530 g/l figure from ARMOR's technical data sheet against the 0.8 litres in one kit and you get about 424 grams of solvent leaving the can over the course of one job. That solvent load is one reason for the professional use label. The ACTIVATOR is the other: it carries the isocyanates covered earlier in this guide, and those call for a proper vapour-rated respirator and gloves, not just a propped-open door. The UK's Health and Safety Executive has spent two decades naming isocyanate paints the single biggest cause of occupational asthma in the country, and it is bodyshop spray painters, breathing a fine mist all day, who carry most of that risk. A roller job in a weekend garage is a different exposure than eight-hour shifts at a spray booth, but the same chemical, and the same mask rules apply either way. Doing the work yourself still ends up cheaper than a shop repaint. You are paying for material and your own weekend instead of someone else's booth and labour. If that trade-off is still an open question for you, our full cost comparison of respray, wrap, PPF and DIY coating lays the numbers out side by side.
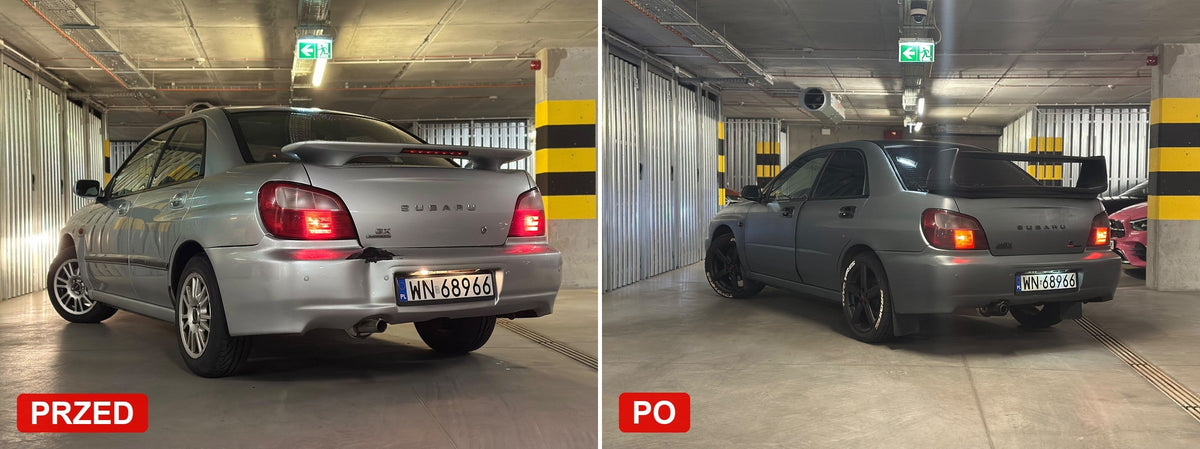
The full set of figures to check before the job is on the technical data page, and the answers to the questions that come back most often are in the FAQ. The ARMOR BLACK kit, 600 ml of base plus 200 ml of ACTIVATOR, is here. If you want to see the same thing on a car painted in a colour from the RAL range, we described the job on a Subaru Impreza in RAL 7016.