Darek is rebuilding a military Star 6x6 for Star Rally Poland and painting it with PANCERX ARMOR. Frame and axle in black, engine in red, cab in yellow with black graphics. All of it went straight onto the old army paint, without stripping anything to bare metal.
On 10 June he mixed the first can, sprayed a length of frame and part of the axle, walked around it with his phone and asked out loud the exact thing customers ask us most often before buying. Whether ARMOR would lift the old military paint underneath. The question is on video. The answer is in the photographs from the month that followed.
A spike, old army paint and one scratch
Before Darek painted the whole frame, he tested the coating in the simplest way there is. He took a spike and ran it across three places: over ARMOR that had been drying for seven days, over a section painted the day before, and over the old army paint right next to it.
What Darek says
Sławek, there is a scratch made here. I ran a spike along it, here, here, here, where the paint had seven days to dry.
Here I ran it the next day, a few hours after painting. But this is literally, man, only a mark from that scriber.
And now I ran it down here. I ran it down onto the army paint. On the army paint it really did cut into the paint.
And further along, look. Further along there is only a faint trace. This is simply a seriously good paint. I am getting changed now, I am going to do the whole frame.
On the ARMOR it left a mark. On the army paint the spike went into the paint. The coating had hours behind it at that point, not weeks, and that is the difference that matters: ARMOR BLACK goes on thick and cures into a structure, not into a thin film that the first stone off the road takes away.
Starting point: olive paint, rust and an angle grinder


The frame arrived wearing its old army coat: olive, rubbed through in places, rust bleeding down the rails. Darek did not take it back to metal. He went over it with an angle grinder and matted what was already there. That is the shorter of the two routes we describe to customers, and the one most people take.
I sprayed the frame here, the one that's been cleaned up.
Old paint and rust are two different jobs and they get confused constantly. Matting means scuffing a sound coating so the next layer has something to bite into. Rust has to come off completely, down to clean metal, edges included, because corrosion always reaches further than it shows. The axle housing below is exactly that kind of place: bare castings, leftovers of olive paint, rust around the flange and the bolt heads, old grease in the corners. If that is where your own project stands right now, start with what to put on rust and what not to.

Our data sheet puts grit numbers on it. Old coatings: P180-P240, blow off, degrease. Bare steel: P120-P180, then an epoxy or acrylic primer, and ARMOR goes on the primer. Nowhere does it say strip the vehicle.
The first can, and the question asked out loud
What Darek says
Sławek, before I start filming the frame being painted, I took the first can of Pancer black. I sprayed the frame here, the one that has been cleaned up.
I wanted a light orange peel, that is why I used a spray gun with a 2.5 nozzle. This paint is terribly thick, in places I would even thin it, but the coverage is decent.
The axle here is already partly painted, tomorrow I will have to finish it. This is just one can mixed up, to see what the results are.
Here, look at this ball on the axle, a nice bit of texture. Nice texture, I wonder how it is going to hold.
That was just splashing the first can around so people know what it is about. Whether it is going to lift on the old army paint.
Whether it is going to lift on the old army paint, but for now, mate, I will tell you, we will see how it looks in the morning. I will send you a second clip in the morning.
I wanted a light orange peel, that's why I used a spray gun with a 2.5 nozzle.
That is the middle row of our application table. Conventional gun, 2.5 mm nozzle, 2-4 bar, 0-5% thinner, medium structure. A 4 mm UBS nozzle with no thinner at all gives coarse; 1.4-1.8 mm with 25-30% thinner gives fine. The full table sits on the technical data page.
This paint is terribly thick, in places I'd even thin it, but the coverage is decent.
One can. Base and ACTIVATOR at 3:1 makes 800 ml of mixed material and gives you about an hour at 20 °C before it goes off in the pot. Darek did not know at the time that ARMOR can be thinned. It can: with acrylic thinner, from 0 to 30% depending on the nozzle and the texture you are after. Which nozzle and how much thinner for which texture is in the table on the technical data page. He sprayed, filmed, and finished the clip with this.
Whether it's going to lift on the old army paint.
Darek speaks Polish. In the original, word for word: "Czy nie będzie się ważyła na starej wojskowej farbie". Then he went to bed and waited to see how it looked in the morning.
Why that question makes sense: 1K against 2K

ARMOR is two-component and contains solvents. On paper that means it can soften a one-component layer underneath, which is why the data sheet says: do not apply over 1K products. In practice it plays out differently. On automotive paint, factory or body-shop, and on this old army paint, nothing wrinkled or lifted in any build we have seen. That line in the sheet is aimed above all at cheap hardware-store paints that dry by evaporation alone and have no hardener in them.
On an old finish whose make-up you do not know, do what Darek did: mix one can instead of five, put it on one section and check it in the morning.
Both routes work. They differ in how many weekends they cost. Without a spray gun the whole thing goes on with a roller as well, and there is a step by step roller guide for that. The rest of the recurring questions live in the FAQ.
Frame and axle in black

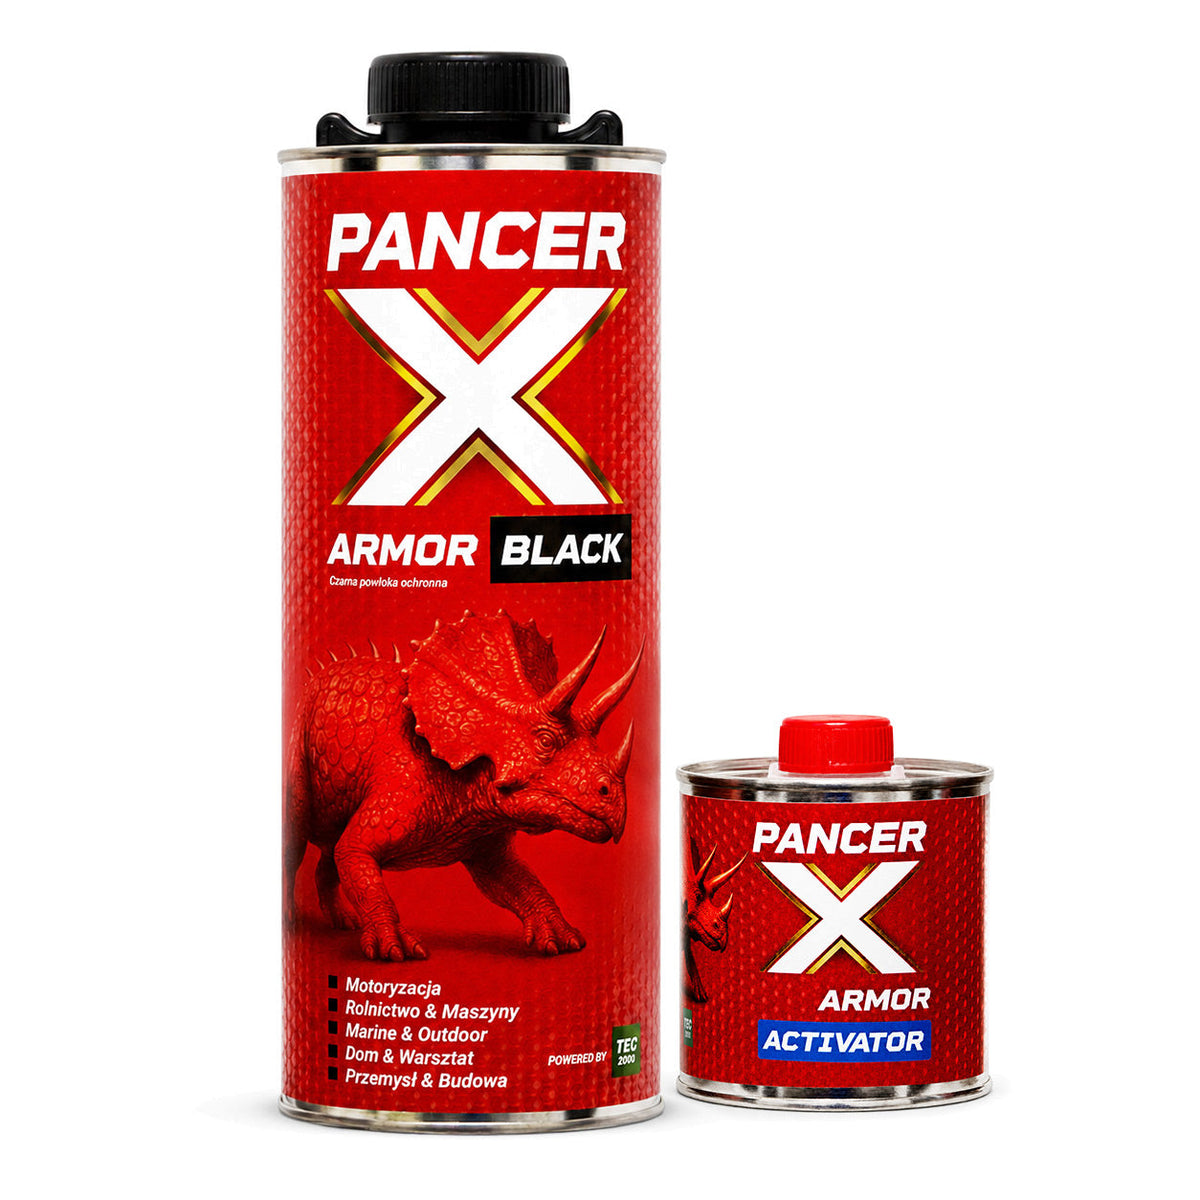
ARMOR BLACK went over the rails, the springs, the fuel tank, the steering column and the axle. It comes out of the can as a finished deep black, and a set of ARMOR BLACK is 600 ml of base plus 200 ml of ACTIVATOR, mixed 3:1, 139 zł. What Darek was after was texture, and the axle is where he found it.
On that ball on the axle, a nice bit of texture. Nice texture, curious how it'll hold.

The engine in red
Red came out of ARMOR COLOR, the base you pigment yourself: 10-15% pigment into the base first, ACTIVATOR at 3:1 second, 159 zł a set. The sheet stops the pigment at 15%. With an hour of pot life you mix in small batches on a job this size, and you dose the pigment the same way every time, or the red drifts from part to part.
The engine went red straight off the rebuild, and Darek left the exhaust manifold bare. Block, gearbox, fan, all in one shade mixed from pigment.
We do not recommend painting the engine, and neither does the data sheet. The coating will hold, only the heat can speed up its ageing. On this Star, as you can see, it works.


Assembly, the proof nobody can stage
What Darek says
A very warm welcome to you all. Last time I posted on Facebook I said that every day I lose 2% of my optimism about making it to Star Rally. But today it does not look so bad any more.
Now we have to get on with arming everything around it. We still have to come back to the brakes. I have five days at most to prime the cab, because in five days something is going to happen to it. For now it looks like this.
The wiring to the rear is military and already run out. I will not find anything better than these military cables, so I do not have to run new wiring. The brake lines are being replaced with new ones from military stock. The pneumatic lines are all new. This little brake line here has not been replaced yet. A new servo with a master cylinder is fitted.
The rebuilt engine is in, and today I will arm it with the manifolds and the distributor. I will make up an alternator mount that will sit here, but I have measured everything already, so I think it will be fine.
The whole thing is painted with a polyurethane coating, so I think optimism really has come back to me a bit today. We will see. I hope we will all meet at Star Rally Poland and that this Star will be ready. Have a good day.
The wiring to the rear is military, already run out. I won't find anything better than these military cables.
On a rebuild like this the loom is usually the part that eats a week. Here it did not, because the original military wiring was worth keeping, and the brake and air lines went in new out of military stock. Decisions like that settle the date.
The rebuilt engine is in, and today I'll fit it with the manifolds and the distributor.


The whole thing is painted with a polyurethane coating.
The question was asked on 10 June. The photographs from 23 and 29 June and from 8 and 10 July show the same frame taking the engine, the gearbox, the radiator, the lines and the suspension. The coating on it did not lift.
How long does it hold? On ordinary car paint, no primer, the way it was done here: around 10 years. Laid to the instructions, on an anti-corrosion primer, after sanding: a great deal longer than 10 years. We have a SEAT on test that was painted without primer six years ago, and to this day there is nowhere on it where anything looks like it is about to let go.
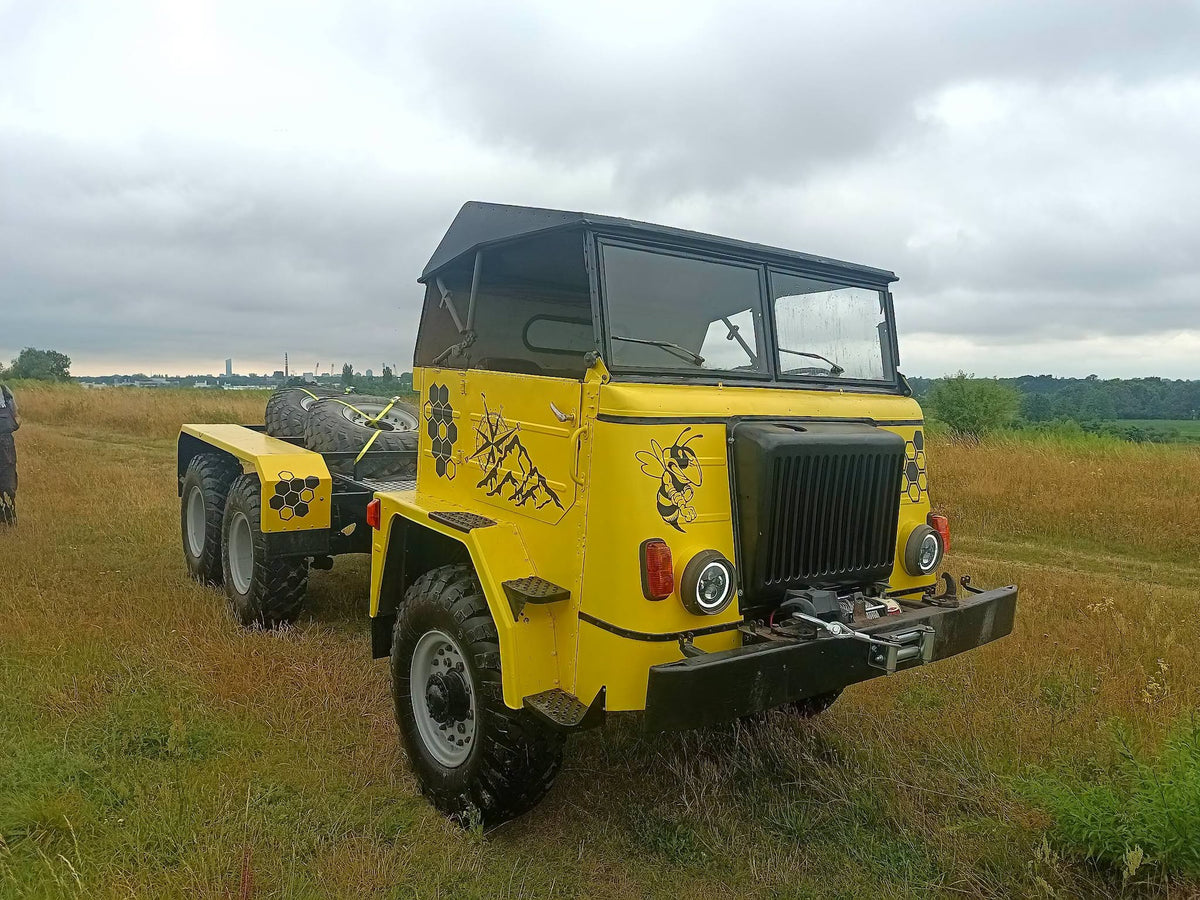
The cab in yellow, and the black graphics


Yellow covers badly. It sits in the same awkward family as red, orange and green, and it wants a light substrate under it, white or light grey, while dark colours go over dark grey. The rule that decides more than the shade itself: one single colour underneath, on every panel, or the finish comes out uneven and you burn more material chasing it. Hence the priming, and hence the deadline inside the deadline.
I have five days at most to prime the cab, because in five days something is going to be happening to it.

The graphics are a second layer of ARMOR over a first one. The sheet keeps coat on coat inside a 30-60 minute window, but the black went on a good deal later - in the tent photo the cab is still standing there in plain yellow, waiting its turn. A coating that has had time to harden gets matted before you tape it, so the black has something to bite into. The close-up shows what that gets you where the two colours meet.

How much of it goes on a machine this size
A Star 6x6 is a different scale from a car, so instead of a ready number here is the arithmetic you can run against your own vehicle.
A vehicle this size means a lot of material and a lot of vapour: the base contains xylene, the ACTIVATOR contains isocyanates, so a mask with an organic vapour filter and nitrile gloves. The numbers are on the technical data page and the recurring questions in the FAQ.
Deadline: Star Rally Poland

Last time I put a post up on Facebook I said I'm losing 2% of my optimism every day that I'll make it.
That was 24 June. Every date in this build hangs off the rally. That is why the cab got five days and not two weeks. The day before, in a sixteen-second voice message, he said this about the Star.
it's going to be a rolling advert for [PANCERX]
Pszczółka, finished
Yellow cab, black graphics, red engine and black frame, all out of the same cans. This is the Star once it rolled off the yard and into a field.


See Pszczółka in action
The Star you have been looking at is called Pszczółka, Polish for little bee, and it made it to Star Rally Poland in Żagań. Patryk Piątek filmed it there and let Darek tell the story of the truck.

Black straight from the can is ARMOR BLACK at 139 zł, your own colour through pigment is ARMOR COLOR at 159 zł.