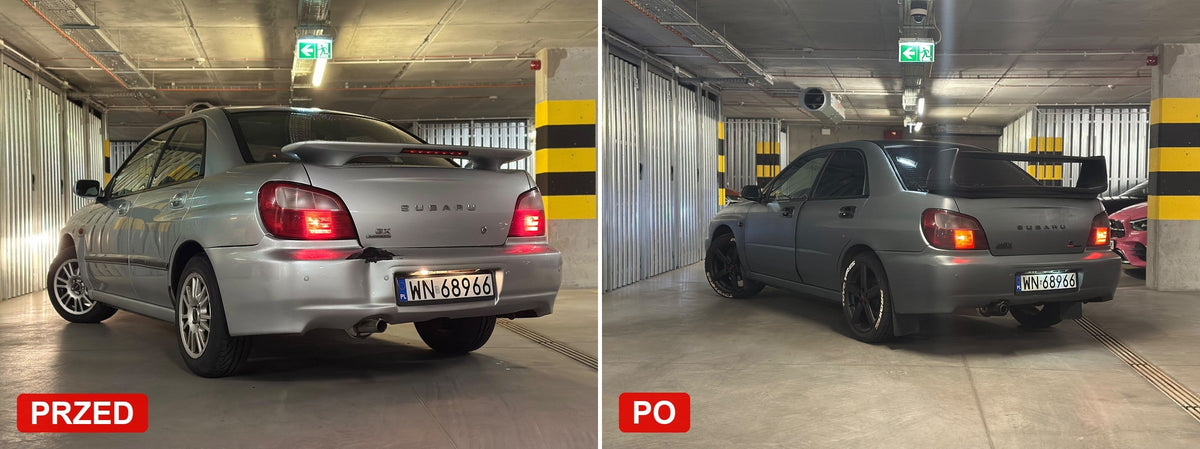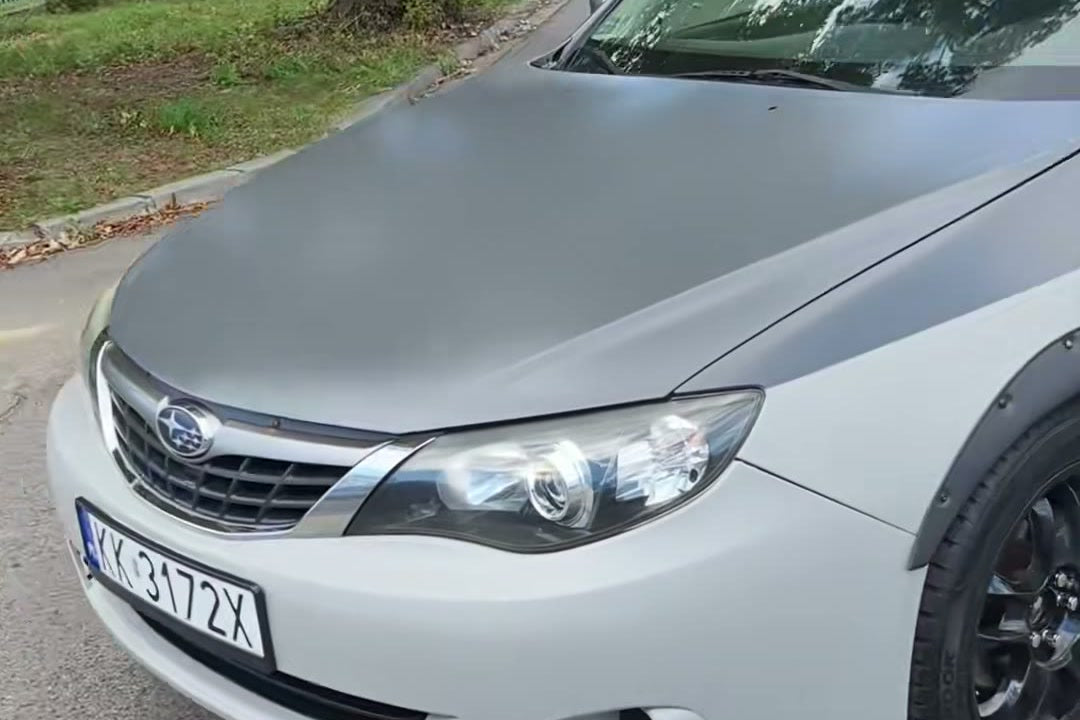
Grzesiek Leszko of the Leszko Moto TV channel keeps painting cars with PANCERX and filming them on his phone in a car park, straight after the job. This time it is a 2009 Subaru Impreza GH hatchback in front of the camera. Bonnet, roof, pillars and spoiler are dark grey with a finer texture. Wings, doors, sills, tailgate and bumpers got a lighter grey with a coarser grain. Add black wheels and black riveted arch trims. Four kits of ARMOR COLOR, an underbody-coating gun, 20 minutes of spraying and no clear coat.
It is the second Impreza on this blog. The first, a customer's saloon in black and RAL 7016, was done with a roller. This one is a hatchback, wears two greys and was sprayed with a gun. The clip runs 113 seconds and Grzesiek answers what people ask under every car he shows: how many cans, what to spray with, clear coat or not. Below is the whole clip, his words written down and frames of what he is pointing at as he says them.

Grzesiek speaks Polish in the clip. Here is what he says, translated.
What Grzesiek says
Next car painted with PANCERX. This time I painted it in two colours. The top dark grey with a delicate texture like this, because you like a delicate texture. And the bottom a slightly bigger texture and a grey colour. And in the sun it even goes, heck, sort of metallic. This colour is beautiful.
PANCERX is supposed to have texture. I always say it has to, because that is what PANCERX was invented for, so that there is texture. If you want to paint smooth, then you paint it, you simply hand the car over to a paint shop. And then it is beautifully painted smooth. We do not put clear coat on PANCERX either, because in real life it looks very nice.
This one is a Subaru Impreza GH, 2009. A four-wheel-drive car with a low-range gearbox, so I sort of figured I would bolt some wider arches on here. It is not finished yet. There is a blanking plug missing, something is missing up there. I will still have to figure something out with the wheels, a bit with the suspension. But this is just preliminary, because the car has literally just come out of painting.
And you always ask how many cans of what went in. So two cans for the top, two cans for the bottom. This time I sprayed it with an underbody-coating gun. And honestly the preparation of this car took the longest, because the painting itself was 20 minutes. It is some kind of hit, really. With an underbody-coating gun you paint in a split second. And there you go, an even, beautiful little texture.
Well, here it was turned all the way, and here a bit better. And I like this texture more. I want texture on every car. Once again I stress that if we paint smooth, we paint at a paint shop. And if we paint it ourselves with PANCERX, then there you go, right? We can paint with a roller too. The texture will be very similar, only more work, because I noticed that with an underbody-coating gun and a small compressor like this I did it in 20 minutes.
Good thing you can have this PANCERX in any colour, right? Maybe I will paint this Peugeot. Only here, heck, there is not much left to save. But if you painted it all over, maybe it would not scare me like this. After all it is a 205 GTI. What if you gave it that original white, slightly creamy colour? That exists too.
So you will see how this Subaru came together from A to Z, because it was a bit of a scrapper, but that is for autumn. So everything will be shown. Now it looks pretty decent. Have a look.
Dark on top, light below
This time I painted it in two colours. The top dark grey with a delicate texture like this, because you like a delicate texture. And the bottom a slightly bigger texture and a grey colour.

The split follows the panel edges. Bonnet, roof, pillars and spoiler in dark grey, wings, doors, sills, tailgate and bumpers in the lighter one. There is no tape halfway down a door and no line drawn by eye, the border is the gap between bonnet and wing or between roof and door. That is why two colours can go on one after the other without masking the whole car.
Two colours means two separate ARMOR COLOR mixes: 10-15% pigment into each base, ACTIVATOR only after that. The mix stays workable for about an hour at 20 °C, so you mix one can at a time and dose the pigment identically in both cans of a given colour. One colour first, tape along the line only once it has dried, then the second.

From the side you can see how the split works along the whole length of the car. Dark roof and pillars, light doors, sill and wing beneath them, and the bonnet ends in dark exactly at the gap. Grzesiek introduces the car in one line: this one is a Subaru Impreza GH, 2009. He comes back to the texture in the second half of the clip.
Once again I stress that if we paint smooth, we paint at a paint shop. And if we paint it ourselves with PANCERX, then there you go, right?

ARMOR is a two-component polyurethane coating with a texture built in. You do not choose whether there is grain, only which: fine, medium or coarse. Nozzle, pressure and thinner set it, and the table is on the technical data page. A smooth finish is a different bill altogether, and we did the sums in our piece on the cost of respraying a car in Poland. The frame with the colour border shows one more thing: bonnet and wing are both matt, both without clear coat, and both have grain, only of different sizes.
A texture that goes metallic in the sun
And in the sun it even goes, heck, sort of metallic. This colour is beautiful.


The pigment is a plain RAL colour, no metallic additive. The effect comes from light on the texture. Every grain has its lit side and its shaded side, so in full sun the light grey on the bumper starts to shimmer, and under cloud it goes back to plain matt. The close-up of the bumper shows it best, while the grille and headlight frame shows where the finer top meets the coarser bottom.

PANCERX is supposed to have texture, as Grzesiek puts it, and how much is up to you. In the data sheet the grain depends on three things: nozzle, pressure and the amount of thinner. Coarse is a UBS gun, 4 mm nozzle, 2-4 bar and no thinner. Medium is a conventional gun with a 2.5 mm nozzle, 2-4 bar and 0-5% thinner. Fine comes from a 1.4-1.8 mm nozzle at 2 bar with 25-30% thinner. Grzesiek sprayed with an underbody-coating gun, and the difference between top and bottom came down to the setting.
Well, here it was turned all the way, and here a bit better. And I like this texture more. I want texture on every car.


Grzesiek shows it with his hand on the bonnet: a patch where the gun was turned all the way, and next to it a patch with the setting he likes more. The close-up of the top grain in the light looks like finely embossed sheet metal. On the bumper the grain is clearly bigger. Anyone painting for the first time can check the setting the same way: a sample on a piece of scrap metal, a look at it in the sun, and only then the car.
Four cans and an underbody-coating gun
And you always ask how many cans of what went in. So two cans for the top, two cans for the bottom.

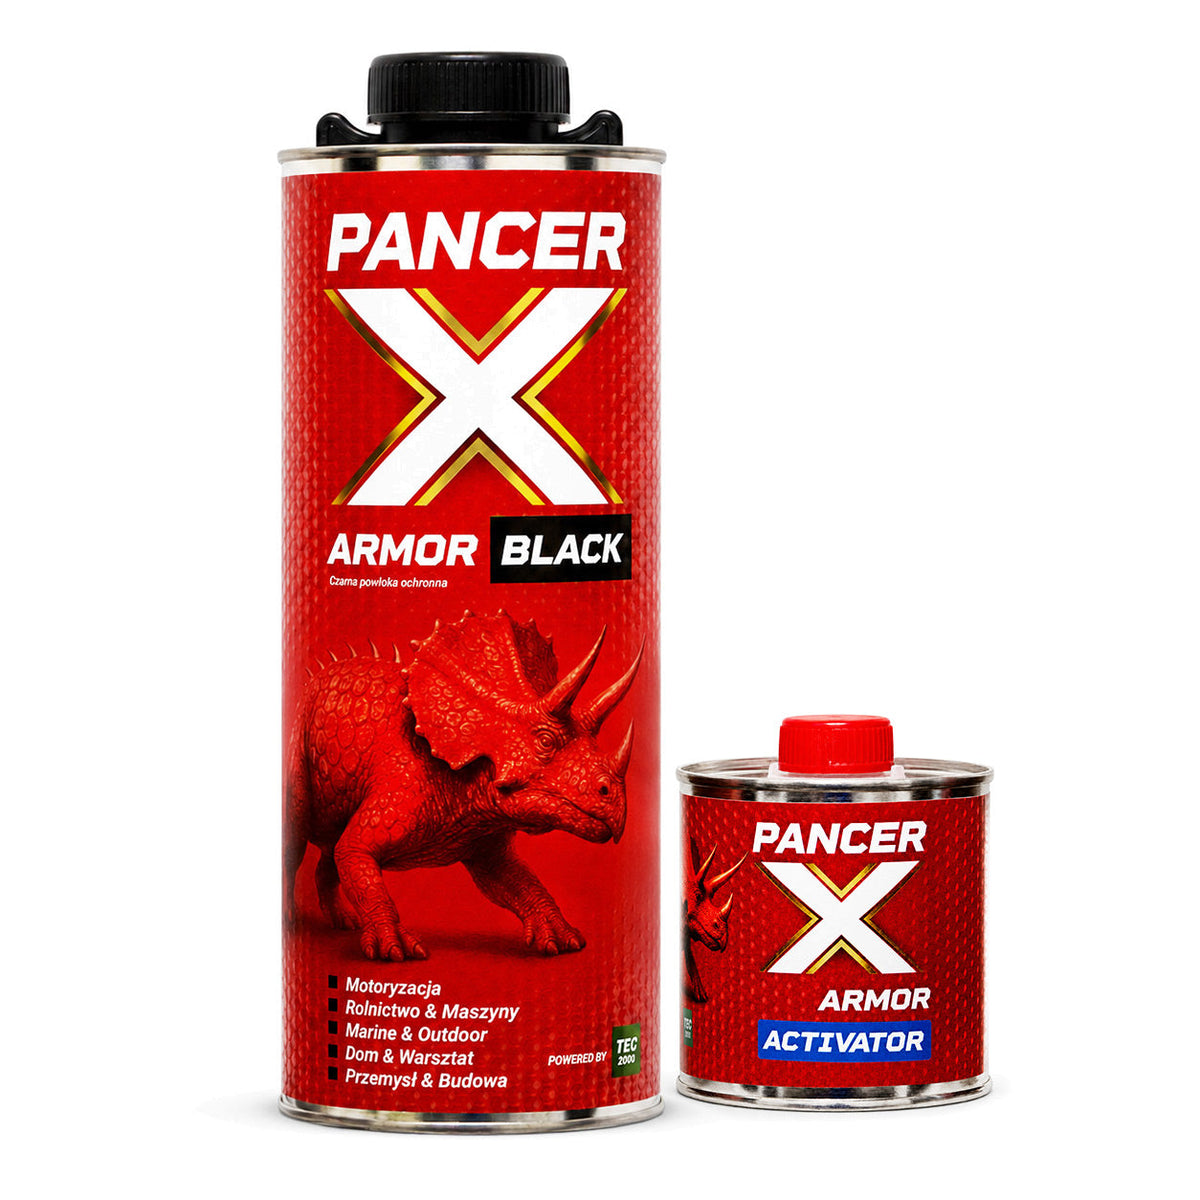
A can, in Grzesiek's words, is one kit: 600 ml of base and 200 ml of ACTIVATOR hardener, mixed 3:1, so 800 ml of paint. One kit covers about 3.5 m² at medium texture, from a spread rate of roughly 4.5 m² per litre at 100 microns. Our FAQ rounds up: for a Golf, an Astra or a Focus we list 4-6 kits of ARMOR BLACK and 6-9 kits of ARMOR COLOR. Grzesiek did the whole car with four kits of ARMOR COLOR, two per colour.
The paint bill: four kits of ARMOR COLOR at 159 zł each, 636 zł for a whole car in two colours.
This time I sprayed it with an underbody-coating gun. And honestly the preparation of this car took the longest, because the painting itself was 20 minutes.

The gun Grzesiek calls a "pistolet do baranka" is a UBS gun, the one used for underbody coatings. In the ARMOR data sheet that is the coarse-texture setting: 4 mm nozzle, 2-4 bar, no thinner. That is why a small compressor is enough. Twenty minutes with the gun in hand fits inside the hour the mix stays workable, with room to spare. The data sheet lists 2-3 thin coats with a 30-60 minute break between them.
Preparation is three steps: scuff, degrease, blow off. On the Impreza they took longer than the spraying, and that is nearly always the case, because the metal has to be matt and clean over the whole surface, including the places nobody looks at afterwards.
We can paint with a roller too, the texture will be very similar, only more work. That is how Grzesiek closes the subject of tools, and that is how it is: a roller gives a similar grain and needs no compressor, it costs you time instead. The steps are in how to paint a car with a roller, and that first Impreza shows what it looks like on a car.
After the last coat you put the gun down and that is the job done. Grzesiek says it outright: "We do not put clear coat on PANCERX either, because in real life it looks very nice." The coating is the finish. Dry to the touch after 1-2 hours, fully resistant after 5-7 days. Conditions from the data sheet: +10 to +30 °C and humidity below 80%, and the clip was shot on a sunny day. ARMOR does not go on the exhaust or the engine.
Arch extensions, wheels and what is still missing
A four-wheel-drive car with a low-range gearbox, so I sort of figured I would bolt some wider arches on here.

The arch trims are black, with the rivets showing on the flange, and they sit on a light grey wing with a coarse texture. Black wheels underneath, and the matt textured coating next to them.
It is not finished yet. There is a blanking plug missing, something is missing up there. I will still have to figure something out with the wheels, a bit with the suspension. But this is just preliminary, because the car has literally just come out of painting.


The same split at the back: dark roof and spoiler above a light tailgate and bumper, rear arch trim, black wheel. The car came straight out of painting. Wheels, suspension and blanking plugs are a separate stage, one Grzesiek says he still has to work out. The order is there in the clip: colour first, the rest afterwards.
Any colour, even a creamy white for the Peugeot
Good thing you can have this PANCERX in any colour, right?

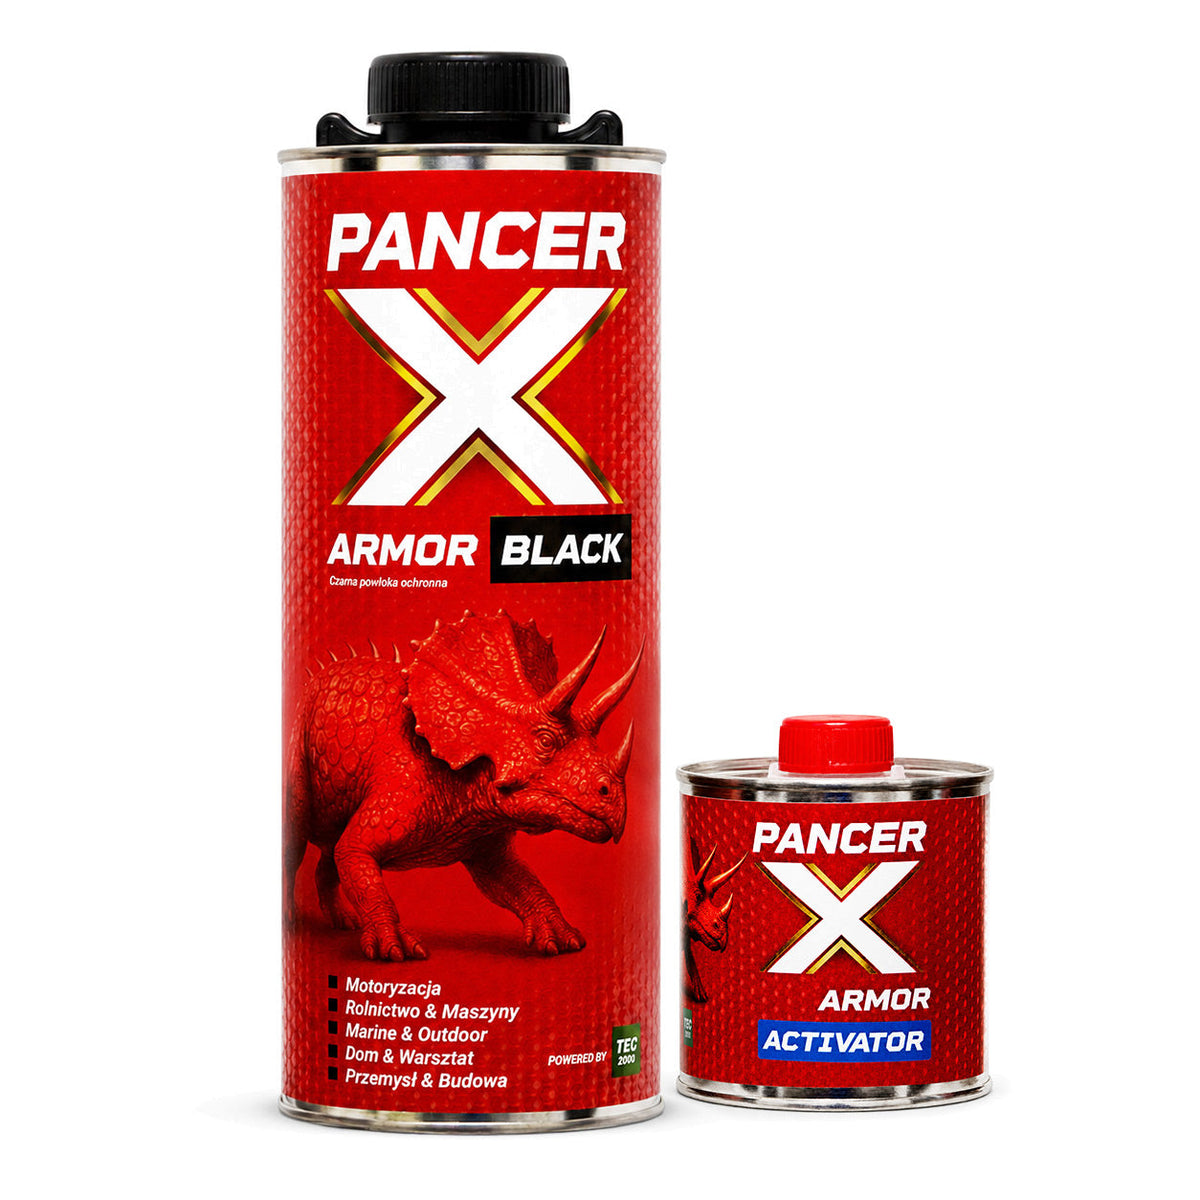
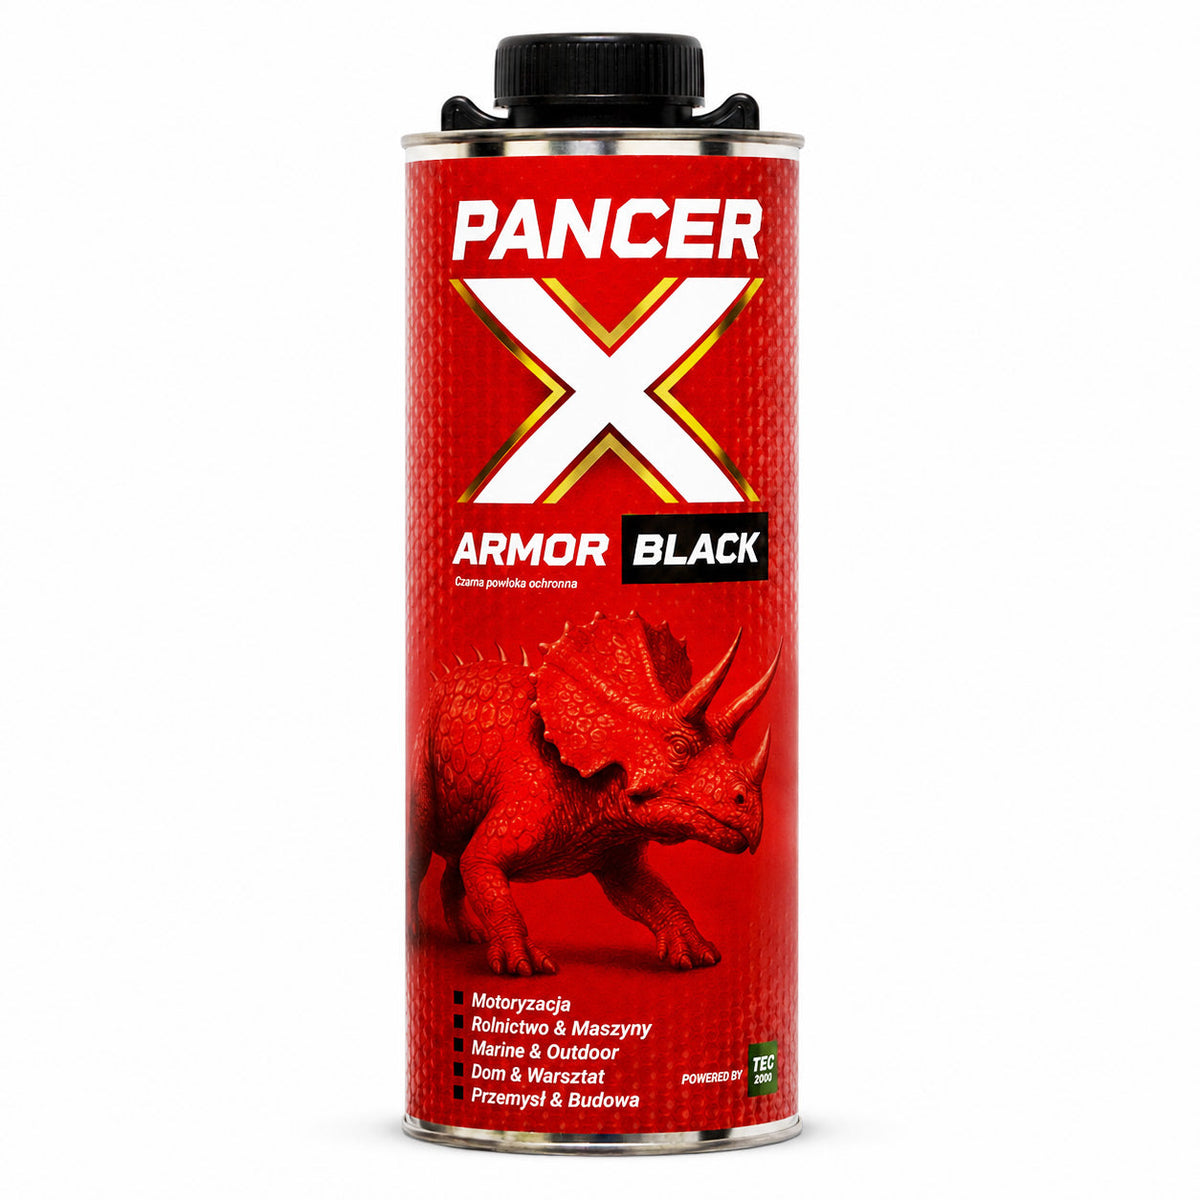
The can Grzesiek holds up in front of the bonnet is ARMOR COLOR, the base for pigment. 10-15% pigment in the RAL number you pick and the colour is yours. The two greys on the Impreza are two pigments in the same base. More colour changes with this product are in our piece on nine builds.
Maybe I will paint this Peugeot. Only here, heck, there is not much left to save. But if you painted it all over, maybe it would not scare me like this. After all it is a 205 GTI. What if you gave it that original white, slightly creamy colour? That exists too.

The Peugeot 205 GTI is parked alongside, its white bonnet flaking and rust coming through underneath. Grzesiek holds the same can up to it and thinks out loud about a colour. Creamy white is in the RAL range like any other colour, so that one is available too. That bonnet is another matter: before the coating the metal has to be scuffed, degreased and clean, and loose paint and rust have to come off, so on that car the preparation would take longer than on the Impreza.
So you will see how this Subaru came together from A to Z, because it was a bit of a scrapper, but that is for autumn. So everything will be shown.

At the end Grzesiek stands with the can in front of the workshop, Subaru behind him, and promises a film of the whole rebuild for autumn. The original clip is on Leszko Moto TV on TikTok, and the same film sits on our reviews page. Got your own car in PANCERX? Film it on your phone, the way Grzesiek does, and send it to info@pancerx.com.
ARMOR COLOR (any RAL colour via pigment) is 159 zł, ARMOR BLACK is 139 zł. Each kit is 600 ml of base and 200 ml of ACTIVATOR, 800 ml of paint in total. The two-colour Impreza took four kits of ARMOR COLOR, which is 636 zł.